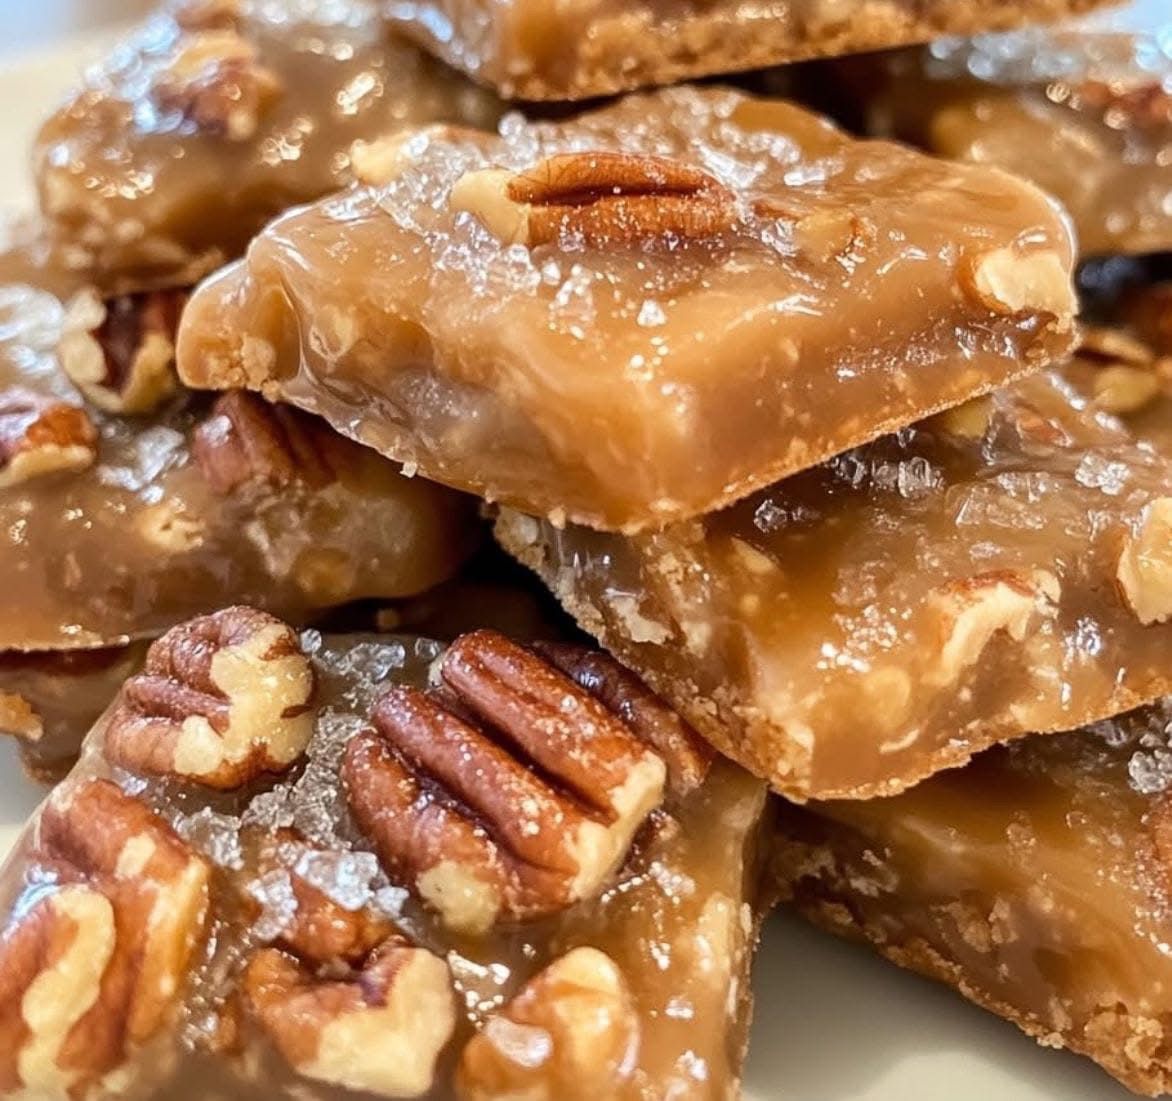
Nothing says Southern hospitality like the rich, buttery flavor of homemade pecan pralines. These melt-in-your-mouth candies, with their creamy texture and crunchy pecans, are the perfect blend of indulgence and nostalgia. Whether you’re looking to impress guests, share holiday gifts, or simply satisfy your sweet tooth, pralines are a timeless treat that never fails to delight.
In this recipe, we’ll guide you through making these decadent sweets from scratch. With just a handful of pantry staples and a little patience, you’ll have a batch of pralines that taste like they came straight from a charming Southern kitchen.
Preparation Details
- Prep Time: 10 minutes
- Cook Time: 20 minutes
- Cooling Time: 30 minutes
- Total Time: 1 hour
- Servings: 12-15 pralines
Ingredients
- 1 cup packed light brown sugar
- 1 cup granulated sugar
- ½ cup evaporated milk
- Pinch of salt
- ½ stick (4 tablespoons) softened butter
- 1 teaspoon vanilla extract
- 1 ¼ cups coarsely chopped pecans
Instructions
Step 1: Prepare Your Workspace
Before starting, line a baking sheet with parchment paper or a silicone baking mat. This will make it easy to drop the praline mixture and prevent sticking. Set it aside in a cool, dry place.
Step 2: Mix the Base Ingredients
In a medium saucepan, combine the light brown sugar, granulated sugar, evaporated milk, and a pinch of salt. Stir the mixture constantly over medium heat to dissolve the sugar and ensure the ingredients blend smoothly.
Step 3: Bring to the Right Temperature
Attach a candy thermometer to the side of your saucepan. Keep stirring the mixture as it heats, bringing it to 238°F (soft-ball stage). If you don’t have a candy thermometer, use the cold water test: drop a small spoonful of the mixture into a bowl of cold water. If it forms a soft, pliable ball, it’s ready.
Step 4: Add Butter and Pecans
Once the mixture reaches the desired temperature, remove it from the heat. Immediately stir in the softened butter, vanilla extract, and chopped pecans. Mix thoroughly to coat the pecans and incorporate the butter evenly.
Step 5: Cool Slightly Before Shaping
Let the mixture sit for 2-3 minutes, allowing it to thicken slightly. Be careful not to let it harden too much, as you need it to remain pourable for the next step.
Step 6: Form the Pralines
Using a spoon, quickly drop heaping tablespoons of the mixture onto your prepared baking sheet. Work swiftly to form all the pralines before the mixture sets in the saucepan. If it begins to harden, you can gently reheat it over low heat while stirring.
Step 7: Let Them Set
Allow the pralines to cool and set completely at room temperature, which usually takes about 20-30 minutes. Once firm, they’ll have a glossy, smooth surface with a slightly crumbly interior.
Serving and Storage
Once cooled, your pralines are ready to enjoy! Serve them on a decorative plate for guests, pack them into festive tins as gifts, or simply enjoy one with a cup of coffee for an indulgent snack. Store pralines in an airtight container at room temperature for up to two weeks. Avoid refrigeration, as it can affect their creamy texture.
Making pralines at home is not just about creating a delicious treat—it’s about capturing a little piece of Southern tradition. The combination of caramelized sugars, velvety butter, and toasted pecans creates a flavor experience that’s both comforting and luxurious.
Whether you’re whipping up a batch for the holidays, celebrating a special occasion, or indulging in a personal craving, pralines are a versatile and timeless dessert. They bring a touch of sweetness to any moment, reminding us that the simplest ingredients often yield the most memorable results.
Now it’s your turn to bring a taste of the South into your home. Gather your ingredients, follow these steps, and prepare to fall in love with the rich, buttery perfection of homemade pralines. Enjoy every bite!
This article provides a structured, engaging recipe presentation that meets your requirements.
